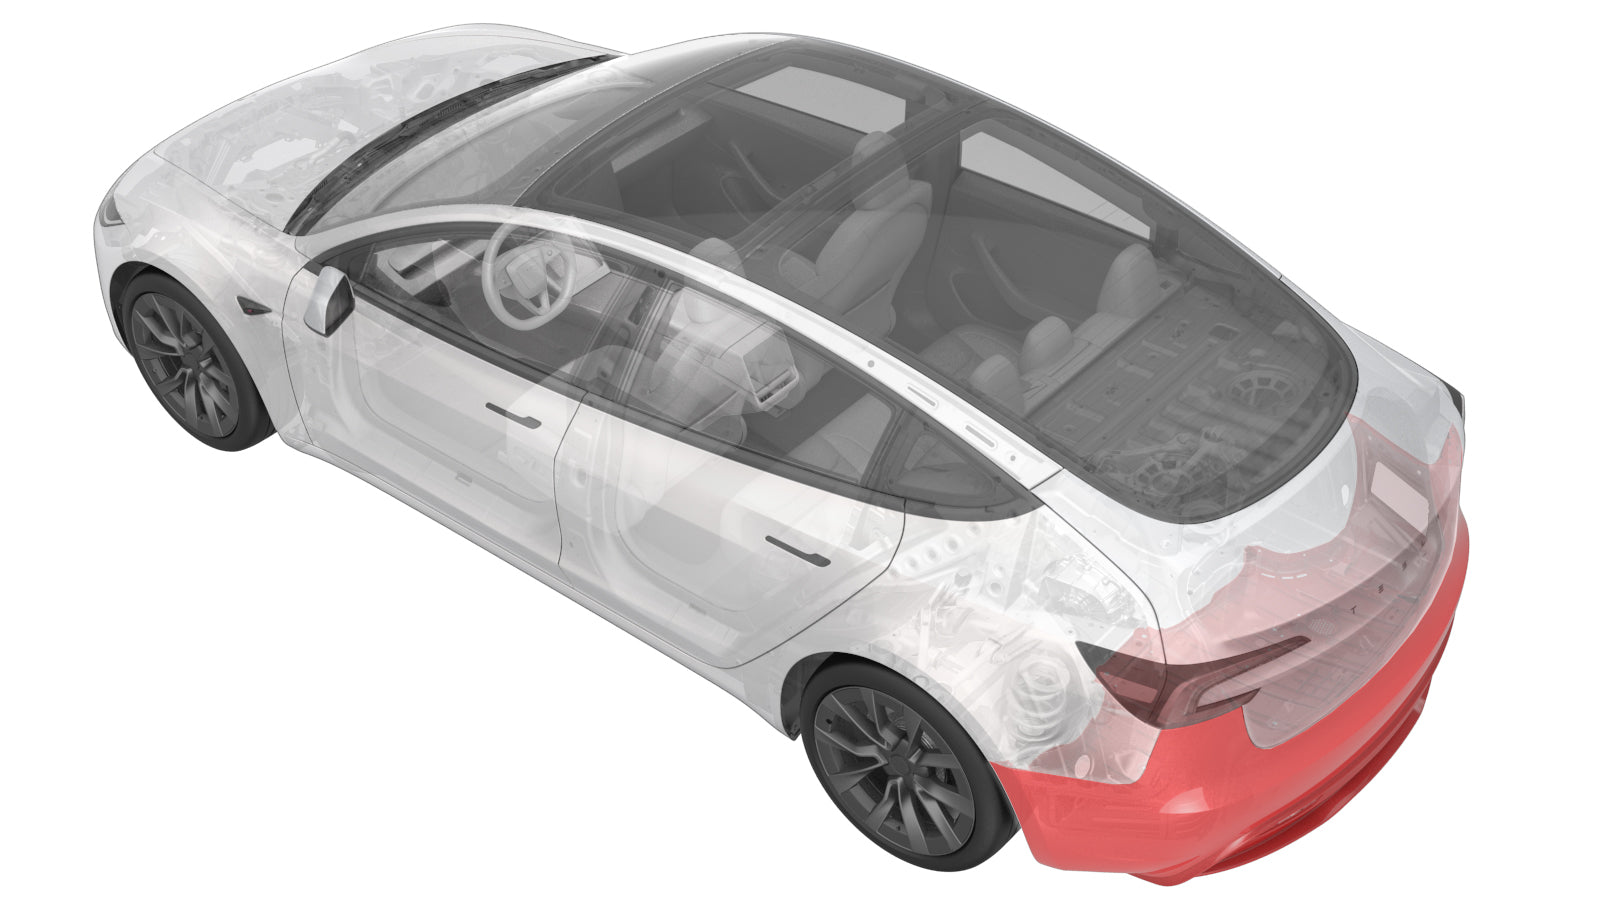
Removing the rear bumper of your Tesla Model Y requires some preparation and attention to detail. Start by lifting the car with a jack to ensure safety and accessibility. Use a screwdriver or trim tool to carefully remove the screws and clips along the edges of the bumper. Next, detach any electrical connections, such as sensors or lights. Gently pull the bumper away from the vehicle's body, ensuring not to damage any components. When you’re ready, reverse the process to install the new bumper. If you’re unsure about how to replace a rear bumper, consulting a professional may help ensure the task is completed properly and without complications.
Tools Needed for Tesla Model Y Rear Bumper Removal
To remove the Tesla Model Y rear bumper, you'll need a few essential tools. Start with a basic set of screwdrivers, including both flathead and Phillips, to remove screws securing the bumper. A trim removal tool is important for detaching clips without damaging the surrounding panels. Additionally, a socket wrench with appropriate sizes will help with bolts around the Tesla Model Y rear bumper. A pry bar may also come in handy for loosening stubborn parts. Make sure you have a torque wrench to reattach bolts securely once the bumper is removed. Proper tools will ensure a smooth and safe removal process of your Tesla Model Y rear bumper.
Step-by-Step Guide to Removing a Tesla Model Y Rear Bumper
Removing the rear bumper of a Tesla Model Y is a straightforward process that requires attention to detail. To begin, ensure the vehicle is turned off and parked on a flat surface. Start by loosening the screws on both sides of the bumper, typically located near the wheel wells. Once the screws are removed, gently pull the bumper away from the body. Be mindful of any clips or connectors that may still be attached. Carefully disconnect any wiring if necessary. To fully remove the rear bumper, continue detaching any fasteners along the bottom edge. Following these steps on how to remove rear bumper will ensure a smooth and safe removal process.
Troubleshooting Common Issues During Bumper Removal
When removing the Tesla Model Y back bumper, there are a few common issues you may encounter. First, ensure all screws and clips are fully removed, as overlooked fasteners can cause the bumper to remain stuck. If the bumper is difficult to detach, check for any hidden clips around the edges that may be resisting. The alignment of the Tesla Model Y back bumper can sometimes cause misfitting when reattaching, so carefully check the alignment before securing it back in place. Also, be cautious of any wiring or sensors that might be connected, as detaching them improperly could lead to malfunctions. Properly handling these aspects will ensure smooth bumper removal and reinstallation without issues.
Reinstalling a Rear Bumper on the Tesla Model Y: Tips and Tricks
Replacing a rear bumper on the Tesla Model Y can be a straightforward task if done correctly. To start, ensure the vehicle is turned off and safely elevated. Remove any screws, bolts, or clips holding the bumper in place. Carefully detach the bumper from the body, ensuring no damage to the wiring or sensors. When installing the new bumper, align it properly with the vehicle's frame and reattach all components securely. For those unsure how to replace rear bumper, consulting a detailed guide or seeking professional help is recommended. Additionally, ensure that all connections, especially those for sensors, are properly reconnected to avoid issues with the vehicle’s functionality.
What to Inspect After Removing Your Tesla’s Rear Bumper
After removing your Tesla's rear bumper, it's essential to inspect several components to ensure everything is in proper condition. Start by checking the alignment of the rear bumper frame. Any signs of rust, corrosion, or damage should be addressed promptly. Inspect the rear parking sensors and wiring connections, ensuring they are secure and functioning correctly. The rear lights and reflectors should also be checked for any cracks or damage that may affect their performance. Finally, evaluate the impact absorption material and the bumper cover for any signs of wear or cracks. Regular inspection of the model y rear bumper area helps maintain vehicle safety and performance.
DIY vs. Professional Bumper Removal: What’s Best for Tesla Owners?
When considering a Tesla Model Y bumper replacement, owners often face the choice between DIY or professional removal. DIY bumper removal can save money and offer satisfaction, but it requires careful research, the right tools, and some technical know-how. If you're comfortable working on your vehicle and have experience with car repairs, this could be a good option. However, professional bumper removal ensures precision and safety, especially if the damage is extensive. Professionals have the expertise to handle all aspects of the Tesla Model Y bumper replacement, ensuring a seamless result. Weigh the pros and cons of each option based on your skill level and the complexity of the repair to decide what’s best for your vehicle.
Safety Precautions for Removing Tesla Model Y Rear Bumpers
When considering how to remove a rear bumper from your Tesla Model Y, it's essential to take necessary safety precautions to avoid damage or injury. Start by ensuring the vehicle is parked on a flat surface, and the ignition is off. Wear protective gloves and goggles to safeguard yourself from sharp edges and debris. Use the proper tools, such as a socket wrench and trim removal tools, to avoid damaging the bumper or surrounding areas. Disconnect the vehicle’s battery to prevent any electrical issues during the process. It’s also advisable to have a second person assist in handling the bumper once it’s loosened, ensuring a smooth and safe removal. By following these steps, you can safely remove a rear bumper.
Tips & Tricks when Reinstalling the Rear Bumper
When reinstalling the rear bumper of your Tesla Model Y, it's important to approach the task with attention to detail to ensure a secure and proper fit. Start by gathering all necessary tools, including a socket wrench, screwdrivers, and the appropriate fasteners. Before beginning, make sure the area around the rear bumper is clean and free of debris, as dirt and dust can interfere with the installation.
First, remove any remaining clips or screws from the old bumper. Carefully detach the bumper from its mounting points, keeping track of all the components you’ll need for reinstallation. It’s helpful to have an extra set of hands during this process, as the rear bumper can be bulky and heavy.
When reattaching the bumper, start by aligning it with the mounting brackets and securing it loosely before tightening the screws. This ensures that everything is properly positioned. Be sure to double-check the alignment to avoid any gaps or misalignment, which could impact both the appearance and safety of your vehicle.
Additionally, if you are concerned about the Tesla Model Y rear bumper replacement cost, consider checking whether any damage to the existing bumper can be repaired instead of replaced entirely. Sometimes, a partial fix can help lower costs without sacrificing quality or safety. Lastly, always refer to the vehicle’s manual for specific instructions related to your car model.



















Share:
Top Rain Repellent for Tesla Windshields
How to Clean the Glass Windows of Your Tesla