Quiet at the Traffic Light. Turning the Podcast Up on the Highway?
A quiet electric drivetrain does not remove every other sound. Before buying another fix, separate wind at the door seams from tire and road rumble. ProGuard is a model-specific option for covered sealing locations.

A practical guide from TeslaHubs, the seller of ProGuard. The examples explain buying decisions; they are not a named owner’s road test.
The car feels calm while you wait at the light. Then you merge and turn the audio up. If that is the part of driving you want to change, start with where the sound is coming from.
Listen for wind near the door and pillar, then notice what happens when the pavement changes. A hiss at a seam and a low rumble through the floor can need different work.
The useful goal is a comfortable normal drive: hearing the podcast and speaking with a passenger without another reach for the volume. There is no need to invent a single cause for every noise.
A secondary sealing kit may be relevant when its fitting locations match your problem. Check a new rattle, damaged factory seal or water leak before adding an accessory.
- Identify the noise before choosing a product
- Check exact vehicle year and fitting locations
- Read the installation and return conditions
The Noise Source Comes Before the Shopping List
ProGuard’s piece count describes the product, not a diagnosis of six leaks in every Tesla. Read the selected kit’s fitting diagram and compare it with the areas you want to address.
Do not rely on a theory that Tesla intentionally sacrificed sealing for the sound of a closing door. Fit and inspection are more useful than an unsourced explanation of engineering intent.
A Shop Quote and a Seal Kit Can Cover Different Work
Ask the shop what it will work on and which sound that work should reduce. Sound deadening, factory-seal replacement and additional seals are different jobs.
Compare the proposed work, installation and current price. A lower-cost kit is useful only if it addresses the problem you actually have.
Compare the Kit and the Job →The ProGuard Model-Specific Kit
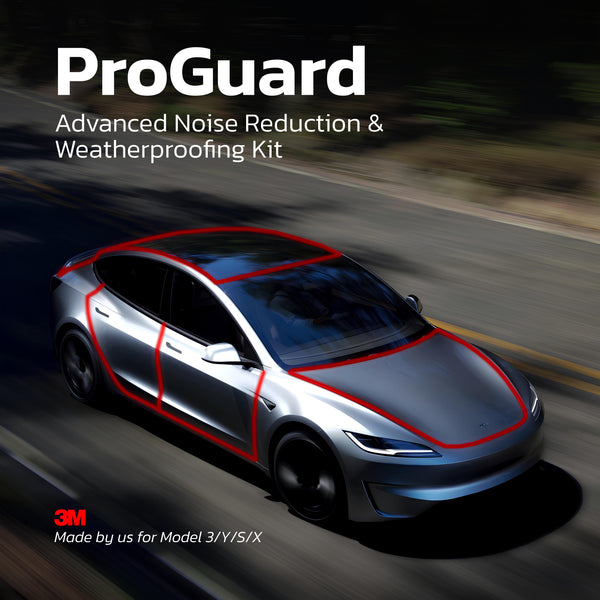
ProGuard is listed as six tailored rubber strips with installation guidance. Select the exact model and build year, then identify each piece against the diagram before applying adhesive.
- Model-specific rubber seals. Choose the vehicle variant before ordering.
- Listed fitting locations. Review pillar, door, trunk and hood positions in the selected guide.
- Surface preparation. Clean and dry the contact areas as directed.
- Closure check. Review placement if a door or hatch does not move normally.
- Installation guidance. Identify each supplied piece before applying adhesive.
- Individual results. Published owner experiences do not establish a typical noise change.
What Published Owners Describe
Published ProGuard reviewers describe individual changes in highway noise and cleaner door sills. Those experiences are useful context, not proof of a fixed decibel change or complete silence.
How It Goes On, in 3 Steps
Compare the Job Before the Price
| Compare | Professional Service | Other Strip or Kit | ProGuard |
|---|---|---|---|
| Job | Actual quoted panel/repair work | Exact strip or kit | Secondary seals at listed locations |
| Fit | Ask what the car needs | Confirm profile and vehicle fit | Choose exact vehicle variant |
| Installation | Scope varies by job | Follow fitting instructions | About 15 minutes with guidance |
| Price | Current quote | Current listing | $79.99 current Model 3/Y price |
| Returns | Applicable service/parts terms | Exact seller policy | Unused-item eligibility |
Three Checks Before You Fit the Kit
- Match the vehicle version and covered locations
- Prepare and position the seals using the guide
- Check closure and notice what changes on a normal drive

What to Notice After Installation
On your next normal drive, notice what changed at the fitted locations and what remained. Do not drive with a deliberately loosened strip as a test. Follow the installation guide and check closure before driving.

Illustrative image. It is not evidence of a controlled before-and-after result.
The aim is less wind at the locations you wanted to address. If a different sound remains, investigate that source instead of assuming another strip will solve it.
Check the ProGuard Variant for My Tesla →Published ProGuard Product Reviews
Exact review excerpts below describe individual experiences. They are not verified-purchase labels or a guarantee for your vehicle.
The Questions Every Owner Asks First
What Owners Measured With Sound Meter Apps
Up to 6X quieter on the highway, with up to 40% less road noise at highway speed. Owners who ran a phone sound-meter app before and after fitting ProGuard report readings like these:
| Measurement | Before ProGuard | After ProGuard |
|---|---|---|
| Highway (70 mph) | 78 dB | 65 dB |
| Heavy rain | 74 dB | 62 dB |
| City driving | 58 dB | 52 dB |
A 13 dB drop at highway speed is roughly the difference between a busy restaurant and a quiet office. ProGuard is backed by a 2-year product warranty.
Sound figures are customer-reported readings from third-party sound meter apps. Results vary by car, speed and road surface.
Quiet Your Cabin for $79.99
TeslaHubs ProGuard Advanced Noise Reduction and Weatherproofing Kit
Choose your exact vehicle variant and review the current delivery estimate.
Check ProGuard Fit for Your Tesla
Read the fitting guide and unused-item return conditions before ordering.